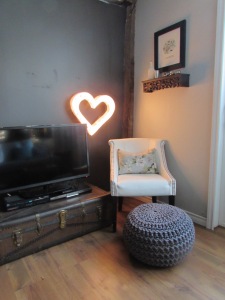
My friend Emma and I have once again teamed up for this week's Getting Crafty (you will remember her from our Terrarium DIY). This time, we decided to tackle the ever-popular Marquee Light. We will both admit that this was definitely a time consuming project, but totally worth the results (a glass of crafting wine was also key!). For the complete step-by-step guide we followed, click here.
List of Items Required:
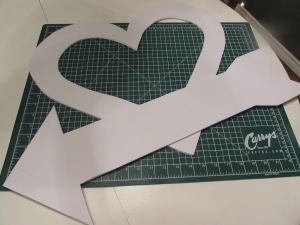
- White foam board (from the Dollar Store)
- White bristol board (from the Dollar Store)
- Stencil
- Cutting board
- Exacto knife
- Hot glue gun
- Pencil
- Ruler
- C7 white lights (Canadian Tire)
- Strong tape
- Time: Roughly 3 hours
- Cost: Roughly $15.00